A doll pin (sometimes called a traditional clothespin or wooden peg doll pin) is a one-piece wooden laundry pin that has been transformed into charming decorative dolls for generations.
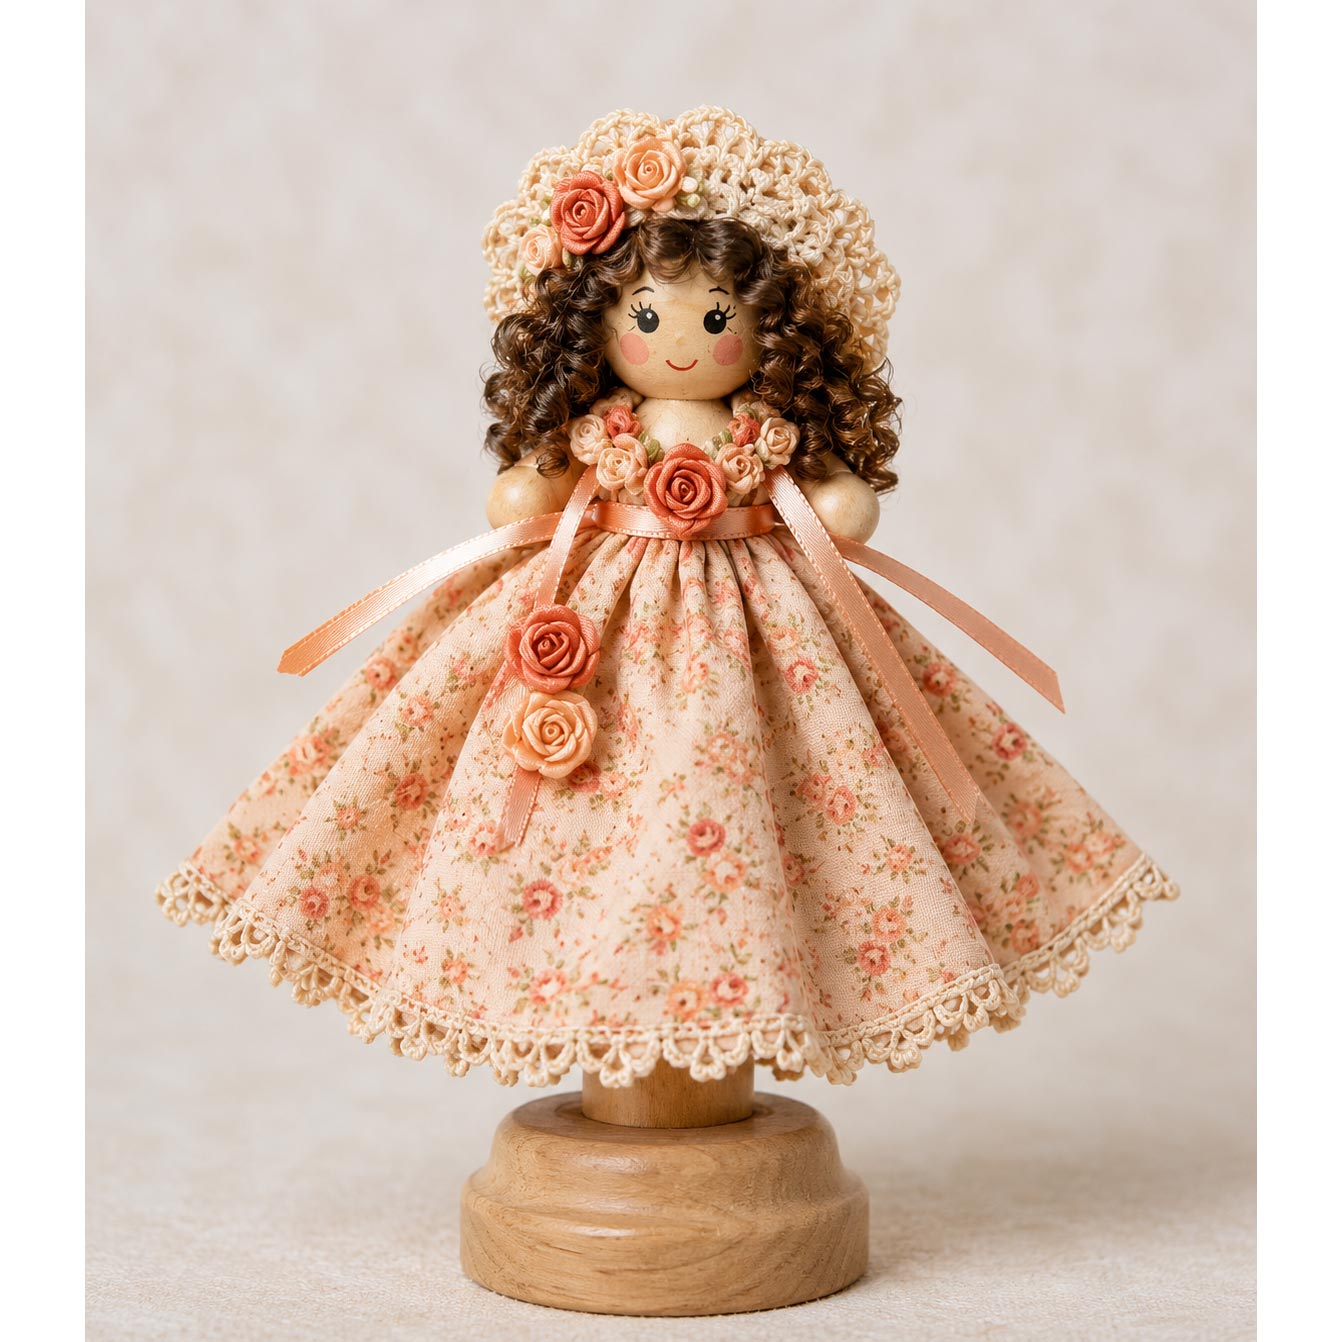
Create a charming Victorian-style doll pin mother using a traditional wooden doll pin, fabric, ribbon, lace, and a few simple craft supplies. This timeless project is enjoyable for both beginning and experienced crafters, and every doll becomes a unique creation with your own choice of fabrics, flowers, ribbons, hairstyles, and decorative accents.
Doll pin dolls make beautiful shelf decorations, thoughtful handmade gifts, nursery decorations, holiday ornaments, collectibles, and family keepsakes. Once you've made your first doll, you'll discover how easy it is to create an entire family or collection dressed in different colors, styles, and themes.
Note: For your convenience and to assist you in being able to locate the material required for this project, some (or all) of the materials listed may be linked to other websites or contain affiliate links. All will open into a new window so that you don't lose this pattern page.
Important Note: This is a new pattern, work-in-progress. Your doll pin might not look right if you try to follow this pattern just yet.
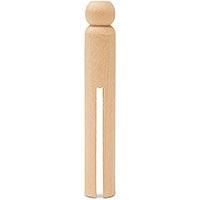 1 Wooden Doll Pin
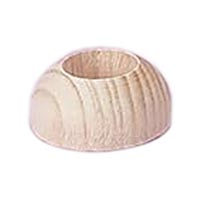 1 Wooden Doll Pin Stand
 1 Standard Craft Stick (Popsicle Stick)
These will be used for her arms. Alternative ideas: If you have any molding clay you could roll some into arms and paint them after they're dry to match the color of the head. Or you could cut a drinking straw to the right length and paint them, and if you use the bendy park of the straw you could use that as the elbow area so that you could position her arms.
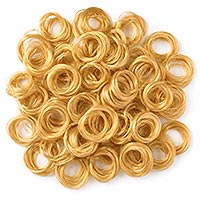 Curly Doll Hair in the color of your choice.
If you have trouble finding curly doll hair, don't worry, it is becoming harder to find than it used to be. Combed yarn works well for doll hair. I can explain how to do this further in the pattern.
Another option is to recycle the head from an old doll. A head about the size of a "barbie" doll or smaller can be slipped over the top of the doll pin (you may have to widen the hole just a little) or glued directly to the top of the pin, depending on the look you want to achieve.
But if neither of those options appeal to you you can always paint her hair onto her head.
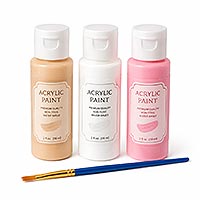 Acrylic Paint: Flesh Tone, White and Pink
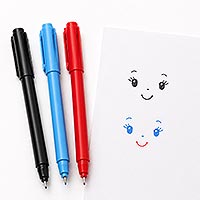 Fine Tip Markers: Black, Light Blue and Red
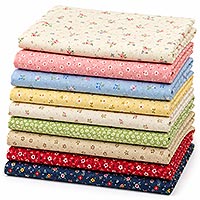 Lightweight Cotton Fabric with a Small Floral or Tiny Print
Lightweight cotton prints, calico, eyelet, and other soft fabrics work especially well for this style of doll pin dresses because they gather easily and drape naturally. I've found that tiny floral prints usually look more realistic than larger prints because they're better proportioned for the miniature doll and usually look more realistic than large prints.
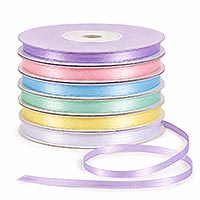 Approximately ½ yard of ⅛-inch Satin Ribbon
The thickness of this ribbon is important for scale but you could substitute rattail cord, metallic plastic canvas cord, or you could even braid a length of embroidery floss to create a ribbon-like cord.
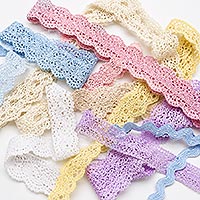 Approximately ½ yard of White Crocheted Scalloped Lace (⅜ inch or narrower), rick-rack, even a decorative ribbon.
That's what this doll used. You can choose the style and color of ribbon, lace, flowers, and hat that suits your preference. You do want it to match your fabric. Don't be afraid to experiment with her looks. (Look further down the page at some other styles of doll pin dolls if you need a little inspiration.) Soft pastels, bright florals, holiday colors, or elegant Victorian shades, and other simple changes in color and trim can give each doll her own personality.
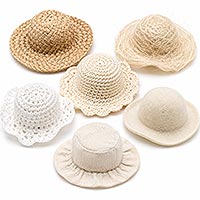 Small Crocheted or Straw Hat
If you are a crocheter then you could make one just the right size and color for your doll pin mother but a straw hat can be painted or dyed. Both are fun to decorate.
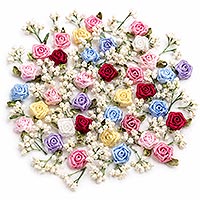 Seven Small Satin Ribbon Roses
1/8 inch or 1/4 inch satin roses are best for scale. You could maybe use a 1/2 inch satin rose on her hat if you want to. You can substitute tiny paper roses, make embroidery knot-style flowers or even artificial baby's breath flowers would look great.
 White Craft Glue or Hot Glue
 Misc: Needle, Thread, Scissors, and Craft Knife or Heavy Craft Snips for cutting the craft sticks.
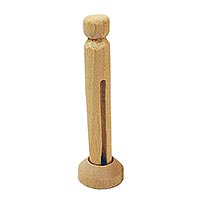
1. Glue the doll pin into the wooden stand using white craft glue. Set it aside until the glue has completely dried. A secure base makes the remaining steps much easier and prevents the doll from shifting while you work.
2. Cut one 1¼-inch arm from each end of a regular craft stick. Lightly sand the cut ends to round the shoulders and remove any rough edges. Paint both arms a flesh tone and set them aside to dry.
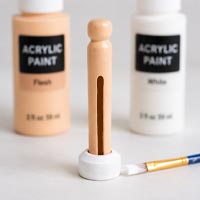
3. Lightly sand the doll pin if needed, then paint the head, neck, and exposed upper body flesh tone. Paint the stand white or another color that complements your finished doll. Allow all painted pieces to dry thoroughly before continuing.
I like to paint all of the wooden pieces before attaching the fabric. It keeps paint off the finished dress and makes it easier to reach every surface.
4. Cut a fabric circle approximately 7 inches in diameter. Cut a 2-inch opening from the center of the circle.
5.Sew a loose basting stitch about 1/8 inch from the inside edge of the circle, then gently pull the thread until the opening fits snugly around the doll pin.
6.Glue or sew the crocheted lace around the inside lower edge of the skirt so it extends just beyond the fabric. Add a row of narrow satin ribbon, if desired, for a layered look.
7.Position the gathered fabric so the top of the skirt sits approximately ½ inch below the doll's neck. Glue the gathered edge securely to the doll pin and hold it in place with small clamps, clothespins, or low-tack tape until the glue has dried.
8. Glue the painted craft stick arms to the sides of the doll pin approximately 1/16 inch below the neck. Position each arm at a slight downward angle to create a relaxed, natural appearance.
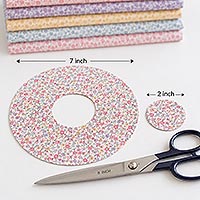
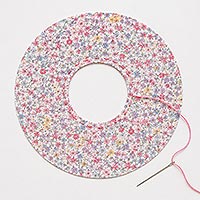
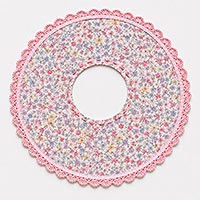
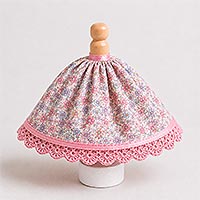
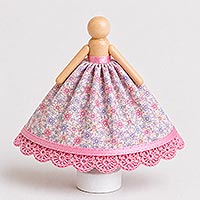
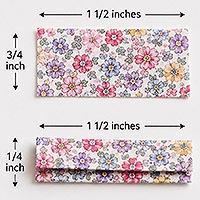
9. Cut two fabric strips measuring approximately 1½ inches by ¾ inch. Fold the long edges toward the center and glue or stitch them in place to create neat finished edges. (See the image below.)
10. Attach one strip vertically over the center front of the bodice with the finished seam facing downward. Bring both ends diagonally over the shoulders, cross them on the back of the doll, pull them snugly, and glue the ends beneath the waistline. Let dry.
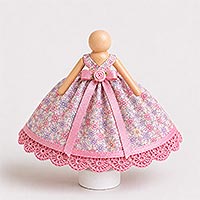
11. Wrap a 16-inch length of satin ribbon around the doll's waist, covering the gathered skirt edge and the ends of the bodice straps. Tie a small bow at either the front or the back depending on the look you prefer and trim the ribbon tails so they are approximately even with the bottom of the skirt. (See the image above.)
Trim the stem from one ribbon rose and glue it to the center of the bodice where the two front panels meet.
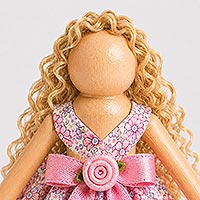
12.Glue the curly doll hair evenly around the head. Once her head seems full enough, trim the curly doll hair to your preferred length. Allow the adhesive to dry before painting the facial features.
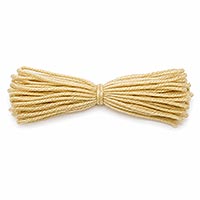
To make yarn hair cut a bunch of same length pieces of yarn, about 6" or so for a small head and longer for a larger head, in the color of your preference. You can always trim her hair later if you prefer. Be sure to cut enough yarn pieces to sufficiently cover your doll pin doll's head. The amount will vary based on the size of the head and the fullness of hair that you want. Once your yarn is cut take one strand of yarn and tie the bundle together in the center very tightly. If you are using thick yarn use a thinner, strong cotton twine or similar. Now you can begin combing through the yarn with a loose bristle brush or comb. Continue brushing until the strands don't look like strands anymore. (Some yarns will convert quickly and other types of yarn may take a while.) If you want to style it with curls wrap a small section around a pencil or straw and then spray (saturate) with fabric starch or hair spray. Slide the pencil out of the curl and pin the curl until it dries. You may need to spray it again if you didn't get enough on it the first time. Repeat this until you have curled the whole head of hair. Glue to the top of your doll pin doll's head, trim to your liking and style it how you prefer. Don't worry too much about the top of her head because the hat will cover the top.
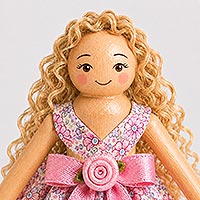
Use fine-tip markers to draw the eyes, eyelashes, eyebrows, and smiling mouth. Add soft pink cheeks with acrylic paint or blush-colored craft paint for a warm, cheerful expression. What worked well for me since I am NOT artistically inclined, was to look on the internet for hand drawn faces and then sketching a few faces on paper first until I found one I liked (and could draw).
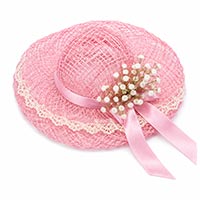
Decorating the hat was the most fun part to me. I had a great time choosing the hat style, the lace and ribbon pieces and the little flowers. Make your hat fit your style with whatever decorations that make you happy.
13. Wrap satin ribbon around the base of the hat. If you are using a crocheted hat, you can weave the ribbon through the crochet openings before tying a small bow at the back. Secure the ribbon with a small amount of glue.
Trim the stems from four ribbon roses (or baby's breath like mine). Glue two roses to the outside brim beside the crown and two beneath the brim near the doll's hairline.
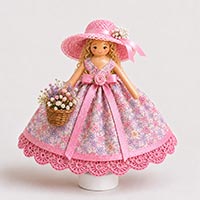
10. Glue two ribbon roses into one hand to create a small bouquet. I chose to give her a basket of flowers to hold.
Arrange the ribbon tails, skirt folds, hair, and flowers until you're happy with the finished appearance.
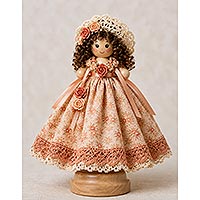
Every doll pin mother can have her own personality. Try different fabric prints, holiday colors, eyelet lace, velvet ribbon, tiny pearl beads, miniature hats, baskets, books, flowers, or seasonal accessories. Change the hair color or hairstyle to resemble a favorite family member, or create an entire collection of mothers, grandmothers, brides, teachers, angels, and holiday dolls using the same basic construction techniques. Below are a few more completed doll pin dolls to inspire you.
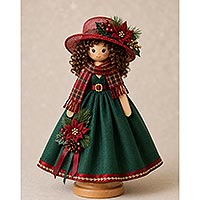
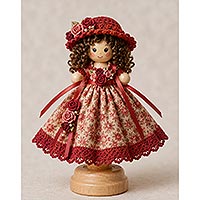
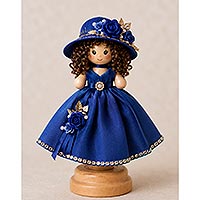
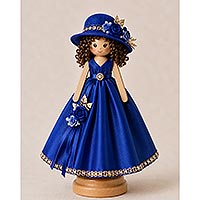
Long before spring-loaded clothespins became common, laundry was hung using one-piece wooden pins with a split cut into one end. Because their simple shape resembled a tiny person with two legs, crafters began calling them doll pins and decorating them as miniature dolls. Today, doll pin dolls remain a favorite folk-art craft and are treasured for their nostalgic charm and endless creative possibilities.